Setting up QR code scheduling for your business
Use a dynamic, URL-based QR code that links to a mobile-optimised booking page, and track every scan from day one. That’s the whole strategy in one sentence, but three things determine whether it actually works. First, choose the exact booking link to share, your full calendar, a single service, or a specific staff member. Second, generate and download a high-quality QR image in both PNG and SVG. Third, test it on at least two different phones before it goes anywhere near a printer.
- Pick the booking link (schedule, staff page, or single service)
- Generate and download the QR code in print and web formats
- Test the scan-to-book flow on iOS and Android before publishing
Permanence matters more than most business owners expect. A QR code that stops working after a subscription lapse turns your printed signage into wasted budget. Qrlytics is built specifically to guarantee that codes created during an active subscription keep working indefinitely, which is why it’s the sensible default for anything you’re printing and don’t want to reprint next quarter.
Key Takeaways
QR code scheduling succeeds when a dynamic, URL-based code links to a mobile-first booking page, is tracked by placement, and stays permanently active regardless of billing status.
| Point | Details |
|---|---|
| Choose URL-based codes | Use dynamic, URL-based codes for ongoing bookings; reserve ICS codes for single, pre-dated events. |
| Test before publishing | Check the scan-to-book flow on iOS and Android and confirm the confirmation message appears correctly. |
| Track scans by placement | Measure conversion rate, time-to-book and revenue per booking to find your strongest QR placement. |
| Protect print investment | Set a quarterly scan audit and use dynamic codes so a link change never requires a reprint. |
| Handle data responsibly | Collect only necessary client details and confirm your scheduling and tracking tools are GDPR-compliant. |
| Use a permanence-first platform | Qrlytics keeps codes redirecting indefinitely once created under an active subscription, protecting printed collateral from ever going dead. |
Table of Contents
- What is QR code scheduling and which type should you use?
- How to generate, test and publish a booking QR code
- Where should you place your scheduling QR codes?
- Does your booking page work well on a phone?
- What should you track, and why does permanence matter?
- How do you keep codes scannable and trustworthy?
- Which file formats and print settings actually hold up?
- Are QR codes safe for handling client scheduling data?
- How do you reduce no-shows once someone has booked?
- Can a booking QR code sync with Google Calendar or Outlook?
- What does QR code scheduling actually cost to run?
- What data protection rules apply to QR-based bookings?
- Why permanence gets overlooked until it’s too late
- Get your booking QR code live without the reprint risk
- Sources
- FAQ
What is QR code scheduling and which type should you use?
QR code scheduling works one of two ways, and picking the wrong one causes most of the frustration business owners report. URL-based QR codes point to a live web address, typically your booking page. Scan it, and the client sees real-time availability, picks a slot, and gets an instant confirmation. Because the destination is a live page rather than fixed data, you can update pricing, hours, or staff without touching the printed code itself.
ICS or vEvent QR codes work differently. They encode calendar event data directly, so scanning one drops a single, dated appointment straight into the client’s calendar app. That’s useful for a one-off event, like a wedding fitting, but useless for ongoing bookings since the code can’t check live availability.
- URL-based: best for ongoing appointment booking, connects to live availability
- ICS/vEvent: best for single, pre-confirmed events, no live booking logic
- Compatibility: both formats work fine with Google Calendar, Outlook and Apple Calendar, since URL-based codes simply open a browser first
For recurring client appointments, a dynamic URL-based code is the right call almost every time.
How to generate, test and publish a booking QR code
Getting a scheduling QR code live takes only a few minutes if you follow the steps in order rather than skipping straight to printing.
- Decide the destination. Do you want the code to open your full scheduling page, a specific staff member’s calendar, or a single service (like “30 minute consultation”)? A single-service link converts better for targeted campaigns because it removes decision fatigue.
- Generate the code. Many scheduling dashboards, including Calendly and Acuity Scheduling, now offer built-in QR generation you can download as a PNG. For anything going to print or staying live long term, a dedicated tool like Qrlytics’s free generator gives you a dynamic code you can edit later without reprinting.
- Download both formats. Grab a PNG for digital use and an SVG or PDF for anything printed, so quality holds up at any size.
- Test on real devices. Scan the code with an iPhone and an Android phone. Most modern smartphone cameras recognise QR codes natively, without a separate scanning app, but older devices or camera apps can behave differently. Check that available times load correctly and the confirmation message actually appears.
- Publish and confirm tracking. Once it’s live in your chosen spot, run one test scan from that exact location and check your analytics dashboard picks it up.
Pro Tip: Print a small test batch first, one flyer or one counter card, and let it run for a week before committing to a bigger print order. It catches layout or sizing problems while they’re still cheap to fix.
Where should you place your scheduling QR codes?
The best placements put the code exactly where a client is already deciding whether to book. In-store, that means the counter, the front window, treatment rooms, and right beside the till at checkout, anywhere a client pauses.
Printed collateral extends that reach: business cards, flyers, product packaging, and event badges. TimeZest’s use-case documentation points to a genuinely useful example here, adding a scheduling code directly to equipment packaging so a customer can book installation the moment they unbox it.
Digitally, the same code (or a linked variant) belongs in:
- Email signatures, for effortless follow-up booking
- Social media posts and bios
- Slide decks and event landing pages
Businesses commonly display these codes across storefronts, point-of-sale displays and email signatures specifically to turn physical touchpoints into a 24/7 booking channel. Track scans by placement from the start, because the difference between your best and worst spot is often larger than owners expect.
Does your booking page work well on a phone?
The scan is only half the job. What happens on the landing page after that determines whether the visit becomes a booking or a bounce.
Your page needs to be genuinely responsive, not just “not broken” on mobile, and it should show available times immediately rather than burying them behind menus. Every field you ask someone to type is a chance for them to give up, so minimise typing wherever possible.
- Show live availability above the fold, first thing visible
- Use direct service deep links for campaigns, so a scan opens the exact service, not a menu
- Keep images small and the server response fast, since delay kills conversion on mobile data
- Aim for single-click confirmation where your platform supports it
Vistaprint’s guidance on business QR codes makes the point plainly: removing the need to type a URL is the primary driver of higher conversion from offline interest to a confirmed booking. That logic extends past the scan itself, all the way to the last field on the form. A well-built mobile landing page can be the difference between a code that performs and one that just sits there looking impressive on a poster.
Test the full flow on at least two device types and measure how many scans actually complete a booking, not just how many people scanned.
What should you track, and why does permanence matter?
Scanning activity tells you almost nothing on its own. What matters is what happens after the scan, and that requires a few specific metrics rather than a vague sense that “the QR code is working.”
- Scans by placement, so you know which physical or digital spot is pulling weight
- Unique scanners, to separate genuine reach from repeat taps
- Conversion rate from scan to booking, the number that actually matters
- Time-to-book, how long between scan and confirmed slot
- Revenue per scanned booking, if your services vary in price
None of this works with a static code. A dynamic, trackable QR code lets you run genuine A/B tests between placements, comparing your window sticker against your counter card, and enterprise productivity tools already support this kind of scan-analytics integration as standard functionality.
Permanence is the quiet variable most owners never budget for. A code that stops redirecting after a missed payment doesn’t just lose you future bookings, it turns every printed flyer, sticker, and window decal carrying that code into dead stock overnight.
Export your scan and booking data regularly and feed it into whatever CRM or spreadsheet you already use for reporting. Qrlytics’s tracking dashboard exports scan data as CSV specifically so it slots into existing workflows rather than becoming a separate silo.
How do you keep codes scannable and trustworthy?
A code that looks cluttered or low-contrast makes people hesitate, and hesitation kills scans. Keep a clean quiet zone (white space) around the code, maintain strong contrast between the pattern and background, and never shrink it below about 2cm square for close-range print materials like business cards.
- Keep logo overlays small and centred, never covering the corner alignment squares
- Print an alternative short URL beside the code for anyone who can’t or won’t scan
- Add a short instruction line, such as “Scan to book, no app needed”
Pro Tip: A one-line instruction removes more hesitation than any design tweak. People scan far more readily when they know exactly what will happen next.
Which file formats and print settings actually hold up?
For anything printed, use SVG or PDF so the code scales cleanly at any size without pixelation. If you must export a PNG for print, keep it at 300 dpi minimum. For screens, a smaller web-optimised PNG loads faster and looks identical.
- Print: SVG or PDF, 300 dpi minimum if PNG
- Digital: compressed PNG for fast loading
- If your booking link ever changes, a dynamic code updates instantly with no reprint needed; a static code means every printed copy is now wrong
- Run a quarterly scan audit on your key placements and set a clear reprint trigger if scan volume drops unexpectedly
Are QR codes safe for handling client scheduling data?
The scan itself carries no personal data, it simply opens a link, so the real security question sits on the landing page and in how you store what clients submit there. Use HTTPS on your booking page without exception; a client typing their name, phone number, and reason for visit deserves an encrypted connection, and most browsers now flag non-secure pages anyway.
Choose a scheduling platform that stores appointment data securely and doesn’t sell or share client details with third parties. If you collect health information, such as for a clinic or wellness studio, check whether your platform’s data handling meets the standards your industry requires, since appointment notes can count as sensitive information depending on what’s recorded.
QR-specific risks are different from data risks, and worth knowing. “QR code hijacking,” where someone places a sticker over your legitimate code to redirect scanners elsewhere, is a real but avoidable problem. Check your printed codes periodically for tampering, particularly on codes displayed in public or unsupervised areas like a shopfront window or community noticeboard. A dynamic code helps here too: if you ever suspect a code has been compromised, you can update or disable the destination immediately rather than waiting for a reprint.
Finally, avoid embedding personal client information directly into a static QR code’s data payload. Keep the code itself limited to a link, and let the secured booking page handle everything sensitive.
How do you reduce no-shows once someone has booked?
The scan-and-book moment is only the start. What happens between booking and appointment day decides whether that slot actually gets filled.
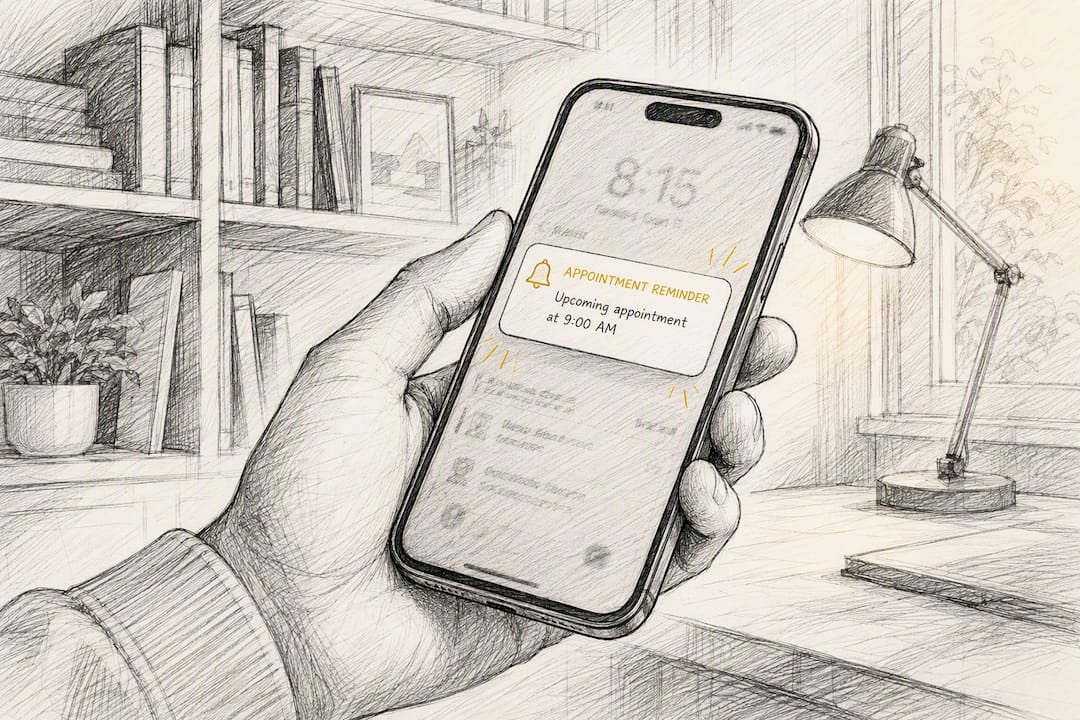
Automated confirmation is the baseline: the moment someone books through your QR-linked page, they should get an immediate email or text confirmation. Reminder messages sent 24 to 48 hours before the appointment cut no-shows meaningfully, and most scheduling platforms support this without extra setup.
Make rescheduling and cancellation genuinely easy to find in that confirmation message. Clients who can’t quickly reschedule often just don’t show up instead, which costs you the slot with zero warning.
A few practical adjustments compound over time:
- Send a calendar invite (or ICS attachment) alongside the confirmation so the appointment lands directly on the client’s phone calendar
- Ask for a name and contact number only, skip optional fields that add friction without adding value
- Offer a one-tap “confirm you’re still coming” link in the reminder message rather than requiring a phone call
- Keep your cancellation window clearly stated, so clients know exactly how late is too late
Booking through a QR code already signals a client who wants convenience and speed. Carry that expectation through the entire journey, confirmation, reminder, and rescheduling, rather than letting the experience get clunky the moment the booking itself is done.
Can a booking QR code sync with Google Calendar or Outlook?
Yes, and the mechanism depends on which type of code you’re using. A URL-based scheduling code opens your booking page in a browser first; once a client picks a slot, most platforms then generate a calendar invite (an ICS file) automatically and either email it or offer a one-tap “add to calendar” button. That invite works identically whether the client uses Google Calendar, Outlook, or Apple Calendar, since ICS is a universal format all three read.
An ICS/vEvent QR code skips the browser step entirely and adds the event straight to the calendar app on scan, but only for a single, pre-set appointment. It can’t check live availability, so it only suits events that are already confirmed.
For your own side, check that your scheduling platform offers two-way calendar sync, meaning bookings made through the QR code automatically block that slot in your own Google Calendar or Outlook so you don’t get double-booked from a separate channel. Most established scheduling tools support this as standard. If you’re running appointments across multiple staff members, confirm the sync works per-calendar, not just for one shared account, otherwise you’ll end up manually cross-checking availability anyway, which defeats the entire point of automating it.
What does QR code scheduling actually cost to run?
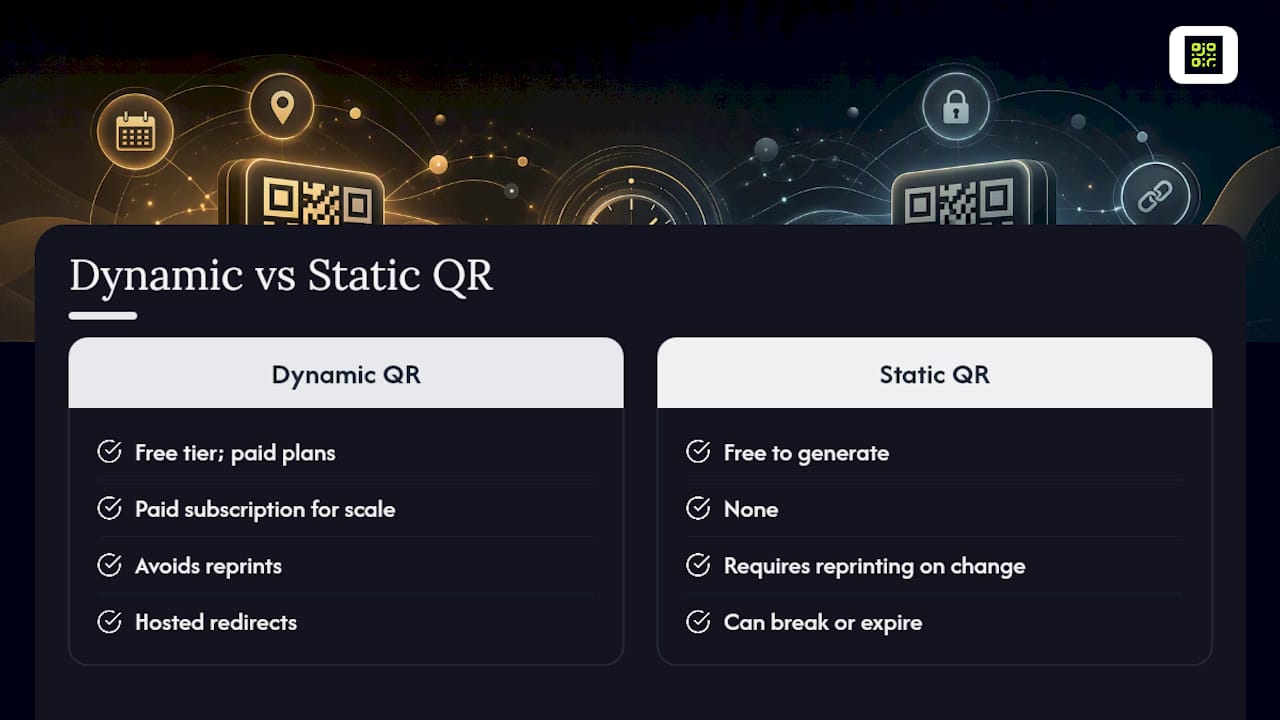
Generating a single static QR code costs nothing; free generators handle that job well for a one-off flyer or a single event. The costs start appearing once you need reliability and scale.
A dynamic QR code with editable destinations and analytics typically sits behind a paid subscription tier once you go beyond a handful of codes, because the provider is hosting the redirect infrastructure that makes updates possible. Qrlytics offers a free tier covering limited codes and basic analytics, with paid annual plans unlocking unlimited codes, advanced scan analytics, and API access for businesses running multiple locations or campaigns, and no credit card required to start.
Your scheduling platform itself is usually the bigger line item, most charge a monthly fee per staff member or calendar once you’re past a free tier, separate from anything QR-specific.
Printing costs are real but often overlooked. A static code that breaks or changes means reprinting every affected piece of collateral, business cards, window decals, packaging inserts. That’s the ongoing cost most owners forget to budget for, and it’s precisely what a permanence-guaranteed dynamic code is designed to eliminate: the redirect updates, the printed material stays valid indefinitely.
Weigh the subscription cost against a single avoided reprint run and the maths usually favours the dynamic option quickly.
What data protection rules apply to QR-based bookings?
The QR code itself isn’t the regulated part, what you do with the personal data a client submits on your booking page is. If you serve clients in the EU or UK, or hold data on residents there, GDPR governs how you collect, store, and use names, contact details, and appointment history, regardless of how the client arrived at your form.
Practically, that means a few concrete obligations. State clearly what data you’re collecting and why, typically in a short privacy note near the booking form, not buried in a separate policy page nobody reads. Only collect what you actually need to fulfil the appointment, name and contact details for most service businesses, and avoid asking for extra fields “just in case.” Give clients a genuine way to request deletion of their data if they ask.
If your business handles health-adjacent appointments, such as therapy, dental, or wellness services, appointment notes can qualify as special category data under GDPR, which carries stricter handling requirements than a standard name-and-email booking.
Check that your scheduling platform itself is GDPR-compliant, since you’re relying on their infrastructure to store what clients submit. This is also where your QR tracking layer matters: Qrlytics builds GDPR-compliant tracking into its analytics by design, so scan-level data collection doesn’t create a separate compliance gap alongside your booking platform’s own data handling. Outside the EU/UK, similar principles under laws like state-level US privacy statutes are increasingly common, so check what applies in your specific market before treating any single framework as universal.
Why permanence gets overlooked until it’s too late
Most advice on QR code scheduling focuses entirely on generation. Pick a tool, make a code, stick it on a flyer, done.
The harder, more consequential question is what happens six months later when a subscription lapses, a card expires, or a platform quietly deprecates free-tier codes. Nobody budgets for the cost of a dead code on packaging that’s already shipped, or a window decal that’s already printed and mounted. That’s not a hypothetical, it’s the predictable failure mode of treating QR generation as a one-time task rather than an ongoing piece of infrastructure.
My honest read: treat your booking QR code the same way you’d treat your phone number on a shopfront sign, permanent, boring, and never something you revisit unless the business itself changes. Prioritise a platform that guarantees the redirect stays live over one that’s marginally cheaper or has a flashier design tool. The analytics matter too, but only once permanence is settled, tracking a code that might vanish next quarter is optimising the wrong variable first.
Get your booking QR code live without the reprint risk
Every option covered here, from platform-native QR tabs to generic free generators, does the basic job of turning a URL into a scannable square. Where most fall short is what happens after you’ve printed a thousand flyers: a cancelled subscription or a platform change can silently kill the redirect, and that flyer run becomes wasted spend with no warning.
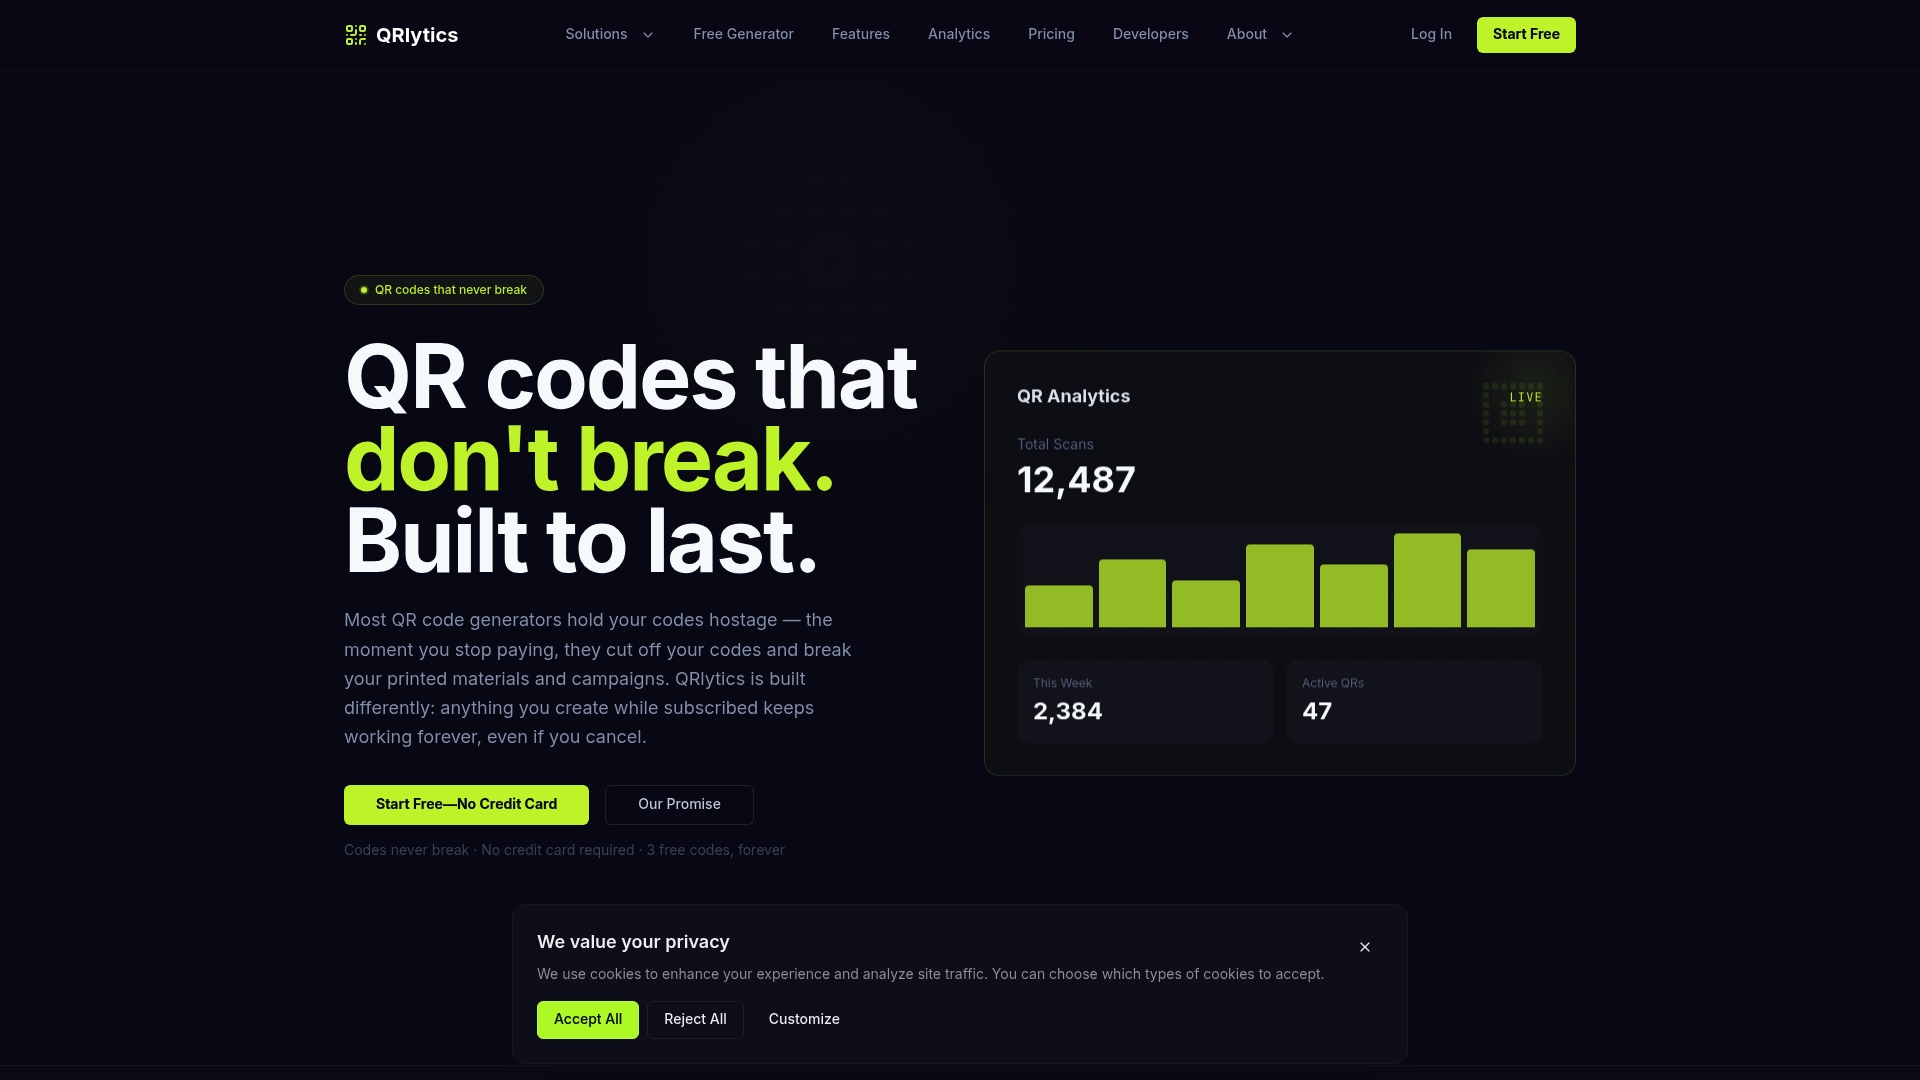
Qrlytics exists specifically for that gap. Codes generated during an active subscription keep redirecting permanently, whatever happens to your billing status afterwards, so your printed materials never become dead stock. You also get real-time scan analytics, heatmaps by location, and dynamic destination updates, meaning you can change where a code points without touching a single printed copy. Onboarding takes minutes and needs no credit card to start.
If you’re about to print anything carrying a scheduling QR code, generate it through Qrlytics’s dynamic QR code generator first and check the analytics dashboard once it’s live. It’s the single easiest way to make sure that print run still works a year from now.
Sources
For deeper guidance beyond this walkthrough, Stellar’s mobile landing-page strategies cover conversion tactics worth applying to your booking page. For the technical side of scan tracking, see Qrlytics’s QR code tracking documentation, and for placement ideas that lift scan volume, browse ways to boost QR code scans.
- QR codes for business — Vistaprint Corporate
- QR-related productivity apps listing — Microsoft AppSource
FAQ
What is the best appointment scheduling tool for QR codes?
The best setup pairs a scheduling platform with live availability (Calendly and Acuity both support this) with a dynamic, permanence-guaranteed QR generator like Qrlytics, so the printed code never breaks even if you switch platforms later.
How do I schedule appointments using my phone?
Scan the business’s QR code with your phone’s native camera app, no separate scanner needed, and it opens the booking page directly in your browser where you pick an available time.
How do I create a QR code for booking appointments?
Choose your destination link (full schedule or a single service), generate the code through your scheduling platform or a dedicated tool such as Qrlytics’s free generator, then download it as PNG for digital use or SVG for print.
Can I use a QR code to take attendance for appointments or events?
Yes, a QR code can log check-ins by linking to a form or check-in page, though this uses the same URL-based mechanism as booking rather than a separate attendance-specific format.
Do I need an app to scan a scheduling QR code?
No, nearly all modern smartphones recognise QR codes natively through the built-in camera app, so clients don’t need to download anything extra to book.